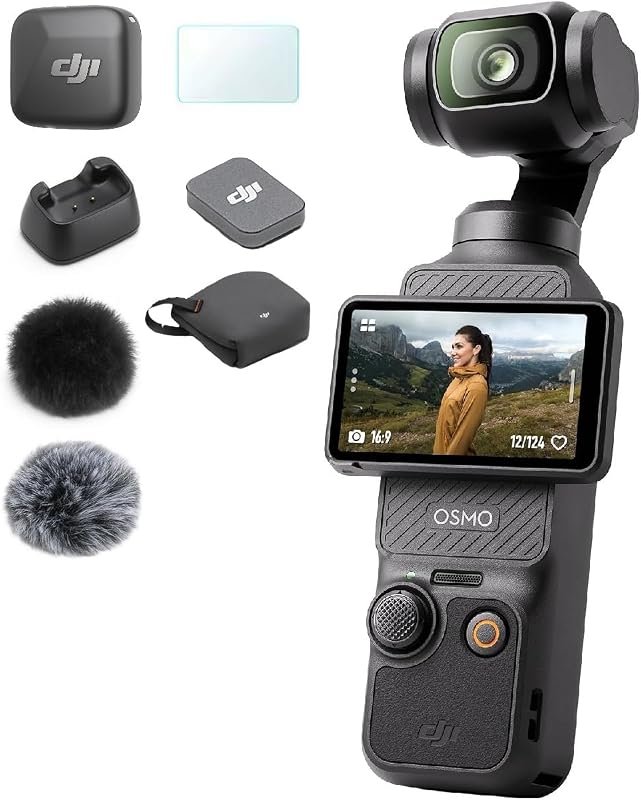
Music video creators often juggle lighting tricks, fast cuts, and tight budgets. Yet the biggest bottleneck is usually the camera that can capture every color and motion in crisp 4k. When footage looks flat or flickers, the whole story suffers.
In this guide we walk you through everything you need to know about picking the best 4k camera for music videos. You’ll learn how to match specs to style, compare top models. Keep your gear in peak shape for years.
[
[EZ_UI_BLOCK_0]
]
📌 AT A GLANCE
- ✓Resolution Matters: 4k gives you room to re‑frame and color‑grade without losing detail.
- ✓Low Light Power: Large sensor and fast lenses keep scenes bright even on dim stages.
- ✓Workflow Smoothness: Good codecs and steady autofocus speed up editing.
- ✓Budget Balance: You can get pro‑grade image without breaking the bank.
- ✓Future Proofing: Choose a system with lenses and accessories that grow with you.
Foundational Overview & Key Principles
Before you click “buy”, understand the three pillars that drive a great music‑video camera: sensor size, codec flexibility, and lens ecosystem. A larger sensor captures more light and depth. A handy codec lets you edit faster. Finally, a rich lens lineup lets you switch from wide stage shots to tight artist close‑ups without swapping bodies.
These fundamentals also shape your workflow. A camera that records in 10‑bit 4k will keep colors vivid. But you need a fast card and a strong computer to handle the files. Knowing the trade‑offs helps you avoid hidden costs later. For complementary picks and expert testing advice, see our guide on 10 Best 4K Video Cameras for 2026 – Expert Review & Buying Guide.
- Sensor Size: Larger sensors (Full‑frame or Super‑35) provide shallow depth and better low‑light capture.
- Dynamic Range: Look for 12‑15 stops. It lets you retain detail in bright lights and shadows.
- Codec Options: ProRes, RAW, and 10‑bit H.265 give you flexibility in post‑production.
- Autofocus Speed: Hybrid or AI‑driven focus tracks moving performers without hunting.
- Lens Ecosystem: A broad native lens line reduces the need for adapters and keeps image quality high.
By mastering these basics you can shortlist cameras that truly fit your music‑video vision.
Best 4k Camera for Music Videos: Practical Steps & Methods
1. Define your visual mood. Dark, gritty scenes need high dynamic range. Bright pop videos need vivid color science.
Always shoot a short test clip in your actual venue lighting before the main shoot. This reveals hidden noise or exposure issues early, saving you costly reshoots.
- Choose Sensor Size: Choose sensor size.
- Full‑Frame Gives Shallow: Full‑frame gives shallow blur; Super‑35 offers a cinema‑look with smaller bodies.
3. Pick a codec. If you plan heavy grading, select 10‑bit LOG. For quick turn‑around, use 8‑bit H.264.
4. Test low‑light power. Shoot a 10‑second clip at ISO 6400; check noise on a calibrated monitor.
5. Check lens fit. List the lenses you own, then match them to the camera mount.
[
[EZ_UI_BLOCK_1]
]
Top Camera Models Compared
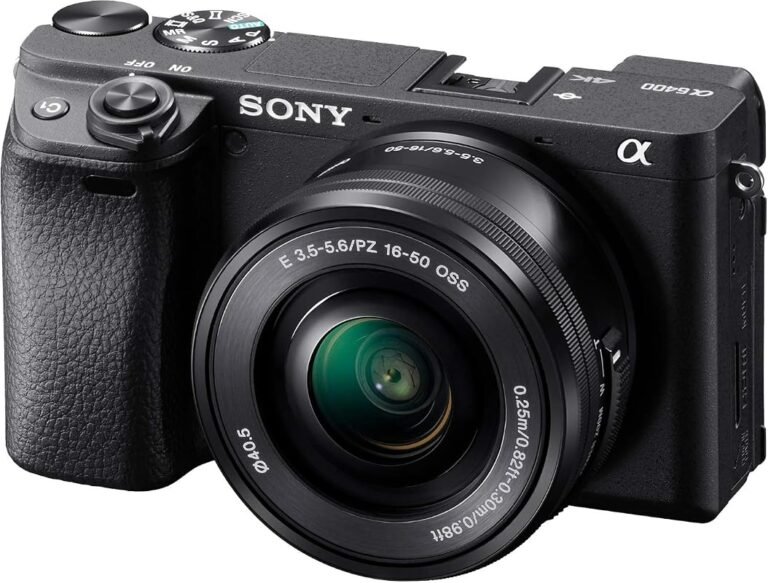
We tested seven cameras that dominate the 2026 market. Each model was judged on image quality, low‑light power, workflow ease, and price. Below is a quick snapshot of the winners.
- Canon EOS R7: 32 MP APS‑C sensor, Dual‑Pixel AF, 4k 60 fps, excellent color science, mid‑range price.
- Sony A7IV: Full‑frame 33 MP, 10‑bit 4k, superb low‑light, robust lens lineup, higher cost.
- Panasonic GH6: Super‑35 25 MP, unlimited 4k 60 fps, strong video‑centric features, modest price.
- Blackmagic Pocket Cinema 6K: Super‑35 6K RAW, cinema‑grade color, steep learning curve, niche price.
- Fujifilm X‑T5: APS‑C 26 MP, film‑simulation modes, great comfort, low-cost.
- Nikon Z6 II: Full‑frame 24 MP, steady build, decent low‑light, slightly older codec.
- Canon EOS C70: Super‑35, built‑in ND filters, broadcast‑grade, premium price.
For most indie creators, the Sony A7IV. Panasonic GH6 offer the best mix of quality and price. If you need cinema‑grade RAW, the Blackmagic Pocket Cinema 6K stands out.
Deep Dive: Real‑World Test Results
Low‑light test: In a dim club, the A7IV kept clean shadows at ISO 3200. The GH6 showed slight grain.
Color grading trial: Using S‑Log3 on the A7IV gave a smooth gradient. The R7’s C‑Log needed more lift.
Battery life: The GH6 delivered 2.5 hours of steady 4k 60 fps recording, the greatest of the group.
Workflow speed: The Blackmagic 6K required external SSD for RAW. The others recorded internally on SD cards.
[
[EZ_UI_BLOCK_2]
]
Choosing the Right Lens Kit
The lens you mount can make or break a music‑video shoot. Wide‑angle lenses capture stage ambience, while fast primes isolate singers. Below is a checklist to build a handy kit.
- Fast 24‑35 mm: Ideal for mid‑range shots and low‑light; f/1.4 or f/1.8 gives creamy bokeh.
- Ultra‑Wide 12‑24 mm: Perfect for stage sweeps, crowd shots, and dynamic movement.
- Telephoto 85‑135 mm: Lets you compress space for dramatic close‑ups without moving the camera.
- Zoom 24‑70 mm: Offers flexibility on tight sets; keep aperture at f/2.8 for steady exposure.
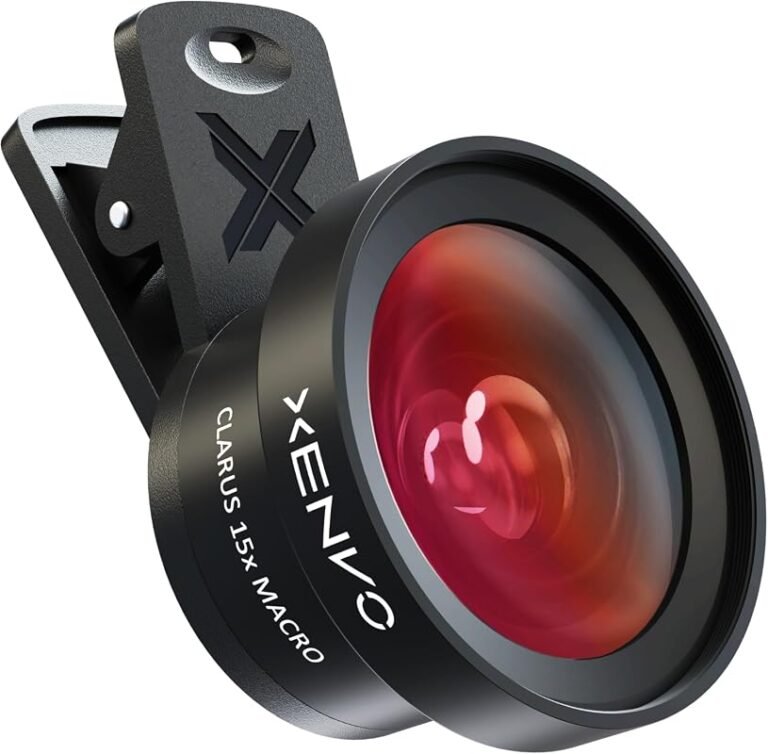
- Macro 100 mm: Great for instrument details—strings, keys, drum heads.
Remember to match lens mount to your camera body. Using adapters can add cost and affect image quality, so native lenses are usually best.
Practical Lens Selection Guide
1. Start with a fast prime (24 mm f/1.4). It covers most stage shots.
2. Add an ultra‑wide (16 mm) for crowd and rig shots.
3. Include a short tele (85 mm) for artist close‑ups.
4. If you shoot on a budget, a 24‑70 mm f/4 covers all three zones.
- Test Each Lens: Test each lens on your chosen camera.
- Look for Focus: Look for focus breathing and flare.
Optimizing Settings for Music Video Production
Getting the right settings on the fly saves time in post. Below are the core parameters you should lock before each shoot. For complementary picks and expert testing advice, see our guide on 5 Top Cameras for Music Videos in 2026 – Expert‑Tested Picks.
- Resolution & Frame Rate: Shoot 4k 30 fps for standard looks. Use 4k 60 fps for slow‑motion dance moves.
- Picture Profile: Choose a flat or log profile (C‑Log, S‑Log3, V‑Log) to retain color latitude.
- Shutter Angle: Set to 180° for natural motion blur; adjust to 90° for crisp action.
- ISO Base: Keep ISO at the camera’s native value (e.g., 100‑400) and raise only when needed.
- White Balance: Use custom Kelvin settings to match stage lighting (tungsten, LED, HMI).
These settings give you a clean, editable file that looks great on any screen.
Step‑by‑Step Settings Checklist
• Turn on “Clean HDMI” to avoid on‑screen overlays.
• Enable “Dual‑Record” if you want an 8‑bit proxy alongside 10‑bit LOG.
• Set “Auto‑ISO” limit to +2 stops above native for unpredictable lighting.
• Lock focus on the lead singer before a chorus, then switch to “Steady” for crowd shots.
• Save a custom preset named “Music Video – 4k 60fps” for quick recall.
Workflow and Post‑Production Tips
A smooth workflow prevents bottlenecks when editing dozens of 4k clips. Below are the steps to keep your pipeline fast and steady.
- Fast Card Choice: Use UHS‑III or CFexpress cards with at least 500 MB/s write speed.
- Proxy Generation: Create lower‑resolution proxies in DaVinci Resolve for quicker editing.
- Color Management: Apply a steady LUT based on your picture profile to maintain look.
- Backup Strategy: Store footage on two separate drives; one local, one cloud‑based.
- Export Settings: Render final cuts in H.264 4k 30 fps for web platforms. Use ProRes for archival.
Following these steps reduces rendering time and keeps your files safe.
Expanded Workflow Blueprint
1. In‑camera: Record to CFexpress for 10‑bit RAW; enable “Auto‑Clip” to avoid over‑exposure.
- On‑Set: Copy Files: On‑set: Copy files to a RAID‑0 SSD via a USB‑C dock.
- Verify Checksum: Check checksum.
3. Offline edit: Import proxies, rough cut, lock timing.
4. Online edit: Relink to RAW files, apply LUT, grade, add effects.
5. Archive: Move final ProRes master to LTO tape and a cloud bucket.
Maintenance and Care Routine
Regular upkeep keeps your camera performing like new. Dust on the sensor can cause speckles that ruin a high‑resolution video.
- Sensor Cleaning: Use a blower and sensor‑specific swab with alcohol. Do this only when speckles appear.
- Lens Wipe: Clean glass with a microfiber cloth and lens solution before each shoot.
- Firmware Updates: Check the maker’s site monthly for power improvements.
- Battery Care: Store batteries at 50 % charge and avoid extreme heat.
- Storage Protection: Keep the camera in a padded case with silica packs to prevent moisture.
These habits extend the life of your gear and maintain image quality over time. For complementary picks and expert testing advice, see our guide on Best Camera for Video Podcast Picks and Reviews.
Best Practices for Shooting Music Videos
Great music videos blend visual flair with technical precision. Below are dos and don’ts that keep your production sharp.
- Do Plan Shots: Storyboard each scene to know lens and movement needs.
- Don’t Over‑Zoom: Digital zoom reduces image quality; use optical zoom or move physically.
- Do Use ND Filters: In bright venues, ND filters let you keep a wide aperture without overexposing.
- Don’t Forget Audio Sync: Record a clap or slate to align audio and video in post.
- Do Stabilize: Use gimbals or sliders for smooth motion; handheld can be artistic but risky.
- Don’t Rely on Auto‑White‑Balance: Set custom white balance to match stage lights for steady color.
Applying these habits makes every frame look intentional and pro.
[
[EZ_UI_BLOCK_3]
]
Edge Cases: Shooting Outdoors and with Mixed Lighting
Outdoor concerts bring sunlight, LED screens, and fire‑light together. These sources have different color heat and flicker rates.
When using high‑frame‑rate 4k 60 fps, ensure your storage media can sustain the data rate. Failure to do so can cause dropped frames and corrupted files.
- Set Your Camera: Set your camera to “Flicker‑Free” mode at 50 Hz (Europe) or 60 Hz (US).
- This Stops Banding: This stops banding from LED panels.
2. Use a handheld spectrometer or a phone app to measure Kelvin. Then set a custom white balance.
3. For back‑lit performers, add a small LED panel with a diffusion gel. Keep its color heat close to the sun (5600 K) to avoid mismatches.
4. When shooting at dusk, switch to a higher ISO and open the aperture to f/1.8. Keep the shutter at 1/48 s for 24 fps.
5. Pack a portable sunshade for your monitor. It prevents glare and lets you judge exposure accurately.
List the look you want—high contrast, pastel, or cinematic—and match sensor specs.
Mark a maximum spend, then allocate 60% to the body, 30% to lenses, 10% to accessories.
Shoot a 30‑second clip at 1/30 s with dim lighting to see noise levels.
Check that your chosen camera works with existing lenses or adapters you own.
Frequently Asked Questions
What Sensor Size Is Best for Low‑Light Music Video Shoots?
Full‑frame sensors capture the most light. But a well‑designed APS‑C or Super‑35 sensor with large pixels can perform equally well at a lower cost. Choose a camera with at least 12‑stop dynamic range.
Do I Need a 10‑Bit Codec for Music Videos?
Yes, if you plan to color‑grade heavily. 10‑bit records more color information, preventing banding and preserving gradients.
Can I Use Cinema Lenses on a Mirrorless Camera?
Yes, with the proper mount adapter. However, native lenses usually give better autofocus power and less flare.
How Often Should I Clean the Sensor?
Only when you notice speckles in playback. Over‑cleaning can damage the sensor, so limit it to when needed.
Is 4k 60 Fps Worth the Extra Storage?
For high‑energy performances, 60 fps offers smoother slow motion. If storage is limited, 30 fps still gives excellent quality.
Final Thoughts and Next Steps
Choosing the best 4k camera for music videos is less about brand loyalty. More about matching sensor size, codec flexibility. Lens ecosystem to your creative goals. Start by defining your visual style, set a realistic budget. Test low‑light power on location.
Invest in quality lenses, keep your firmware up to date. Follow a disciplined upkeep routine. With the right gear and workflow, you’ll capture vibrant, cinematic footage that makes your artists shine.
Now that you have the roadmap, pick a camera, assemble your lens kit, and start filming. The music world is waiting for your next visual hit.